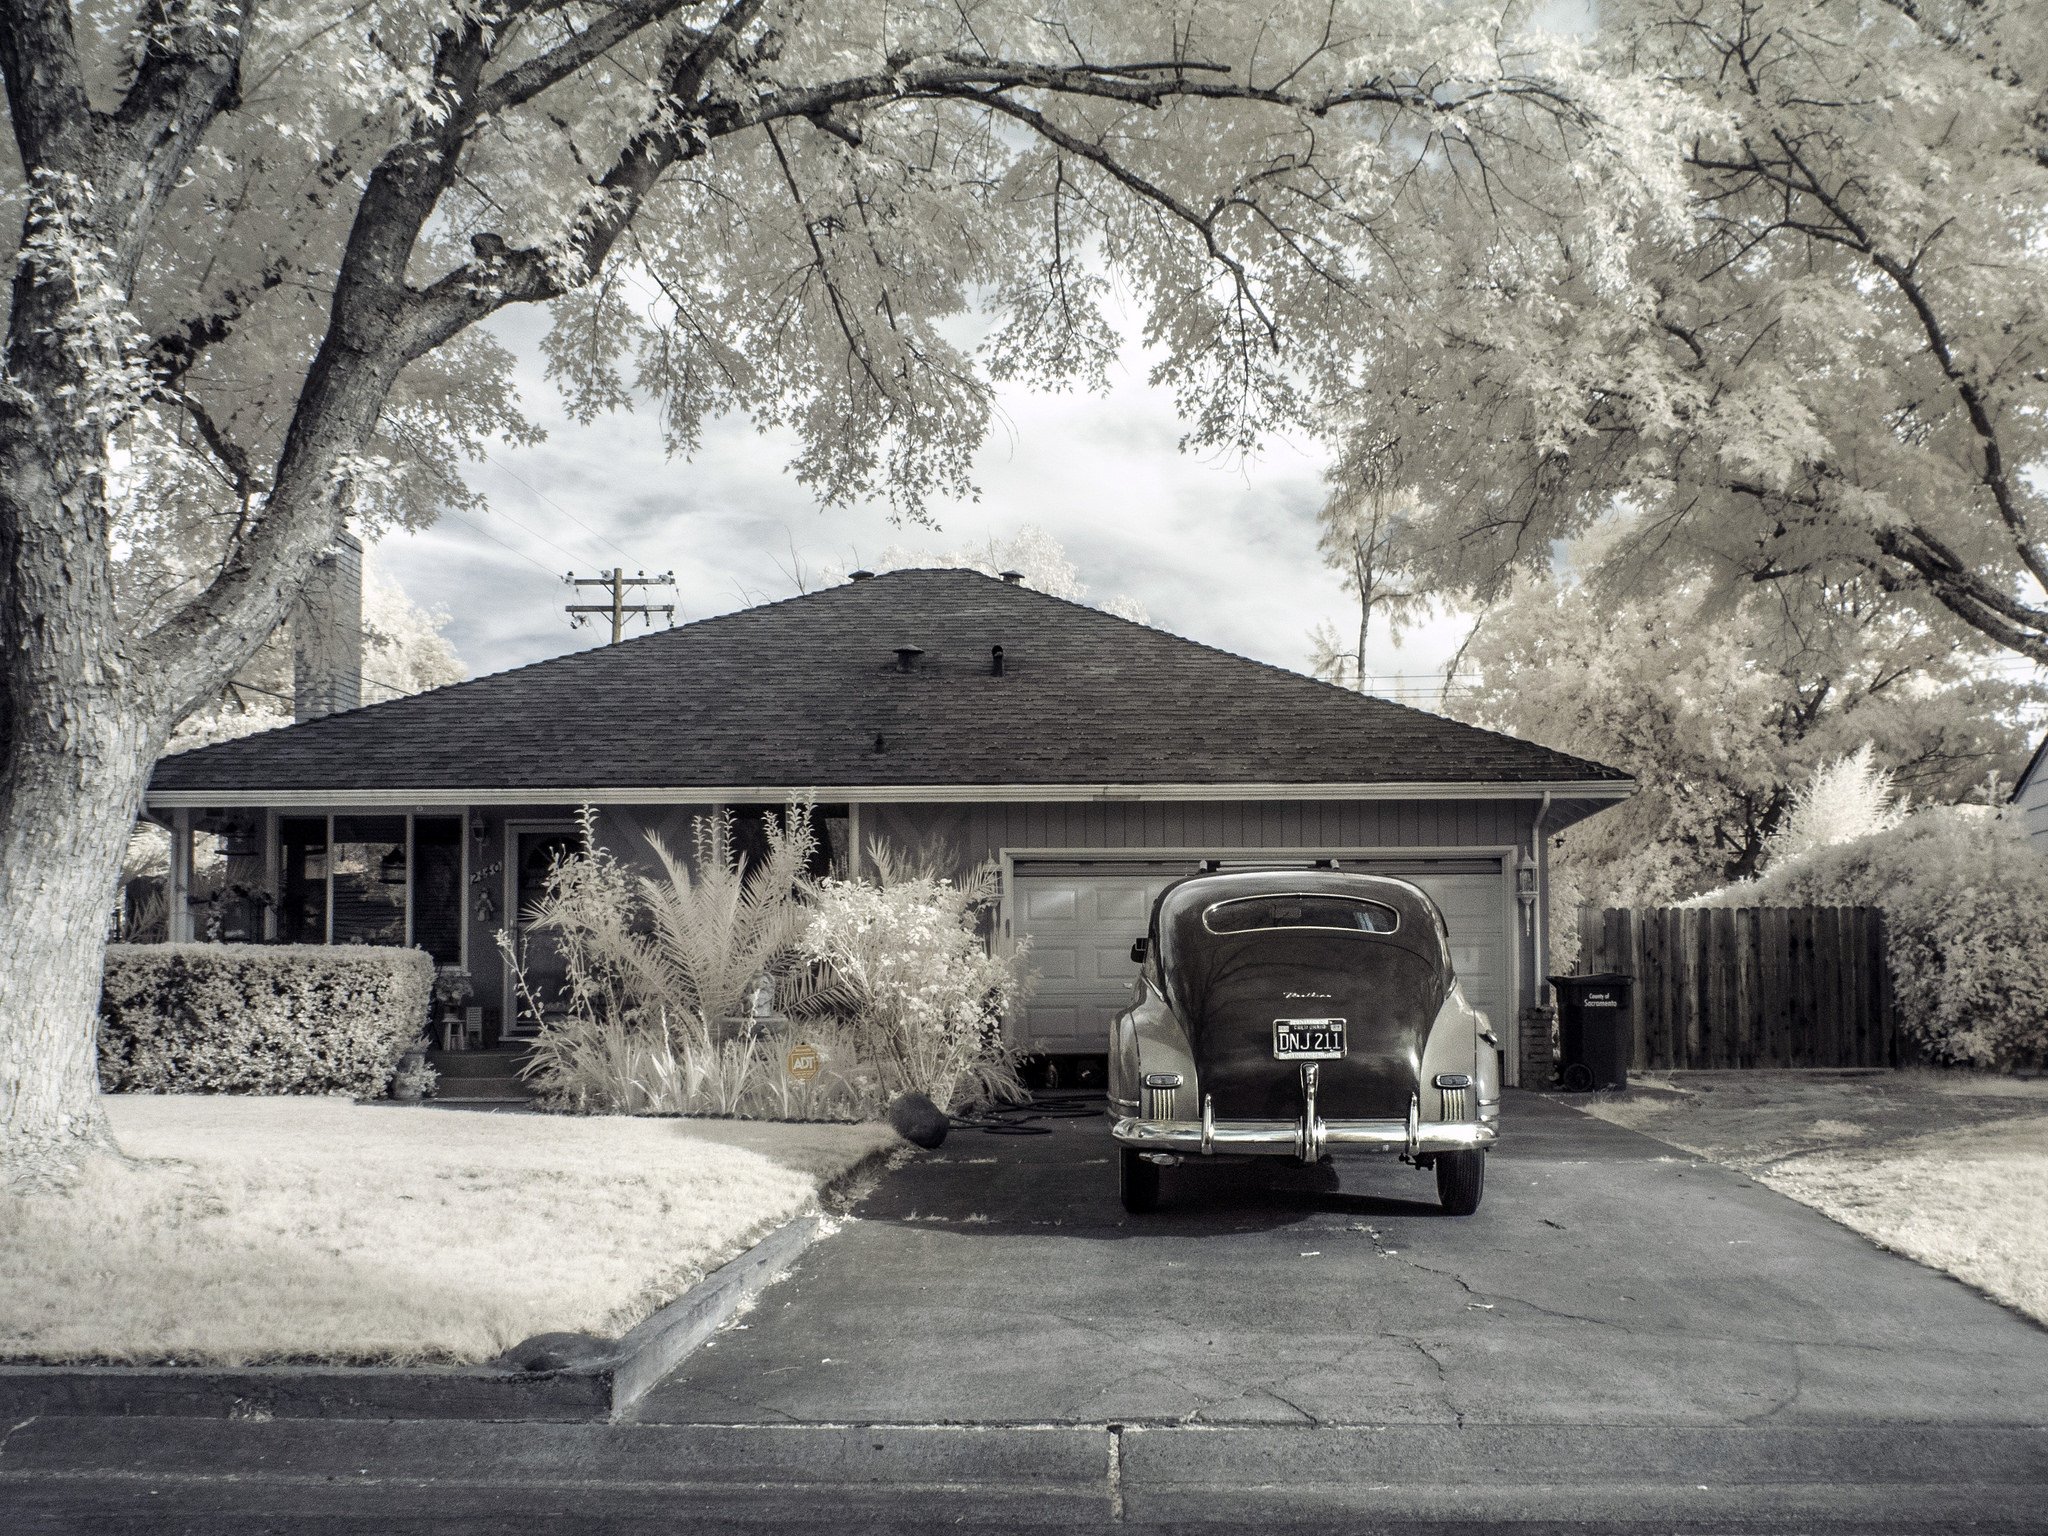
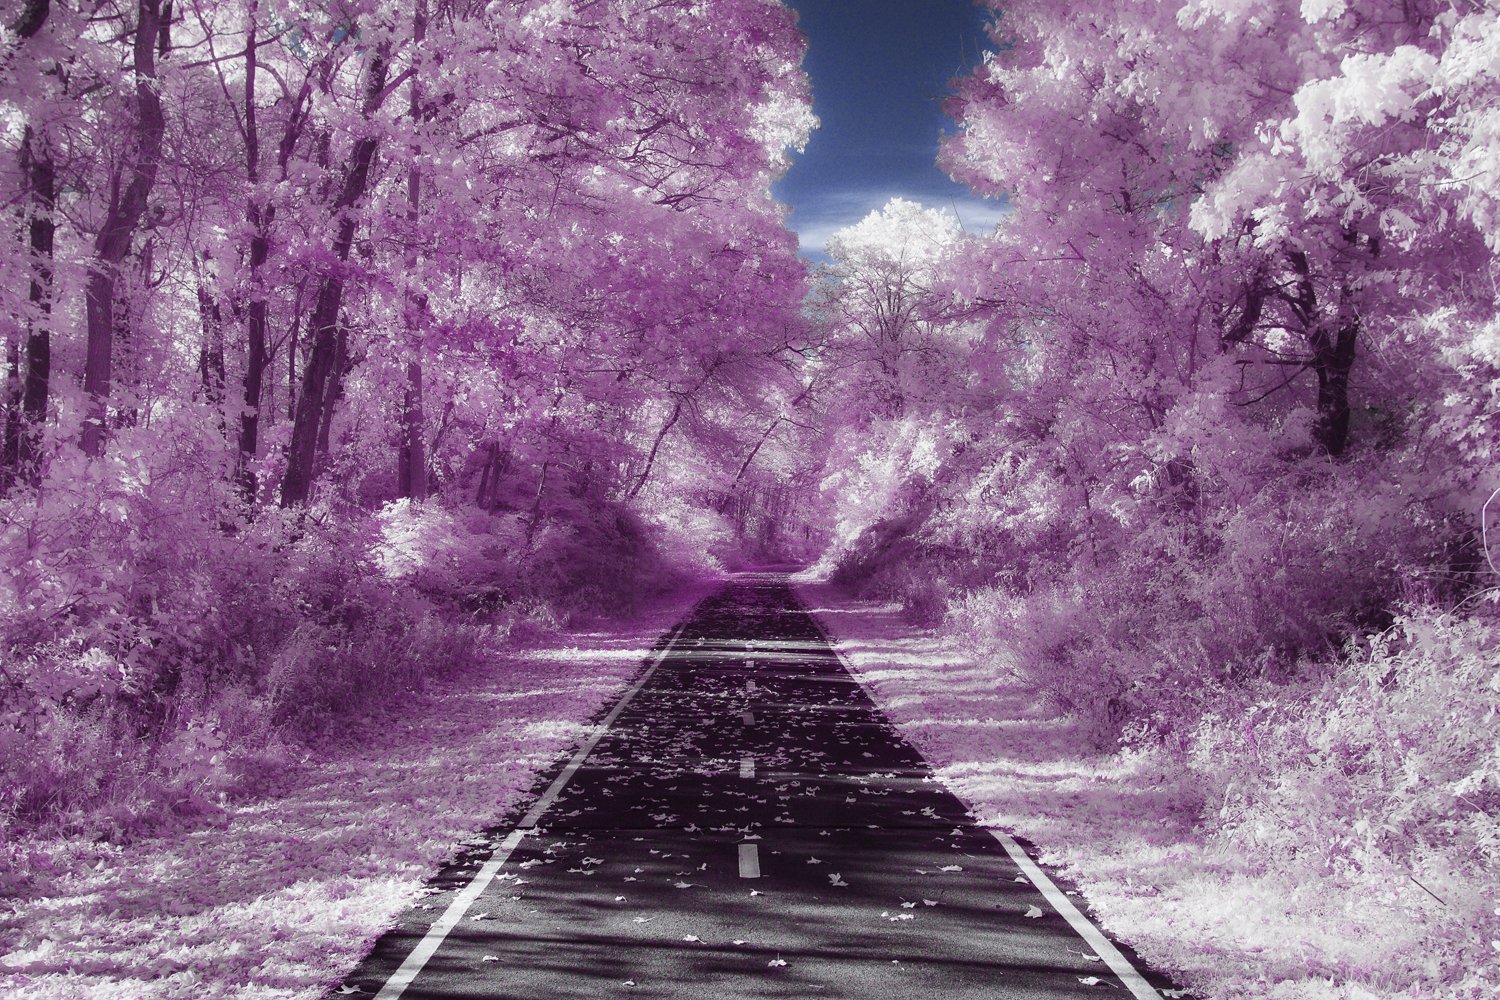
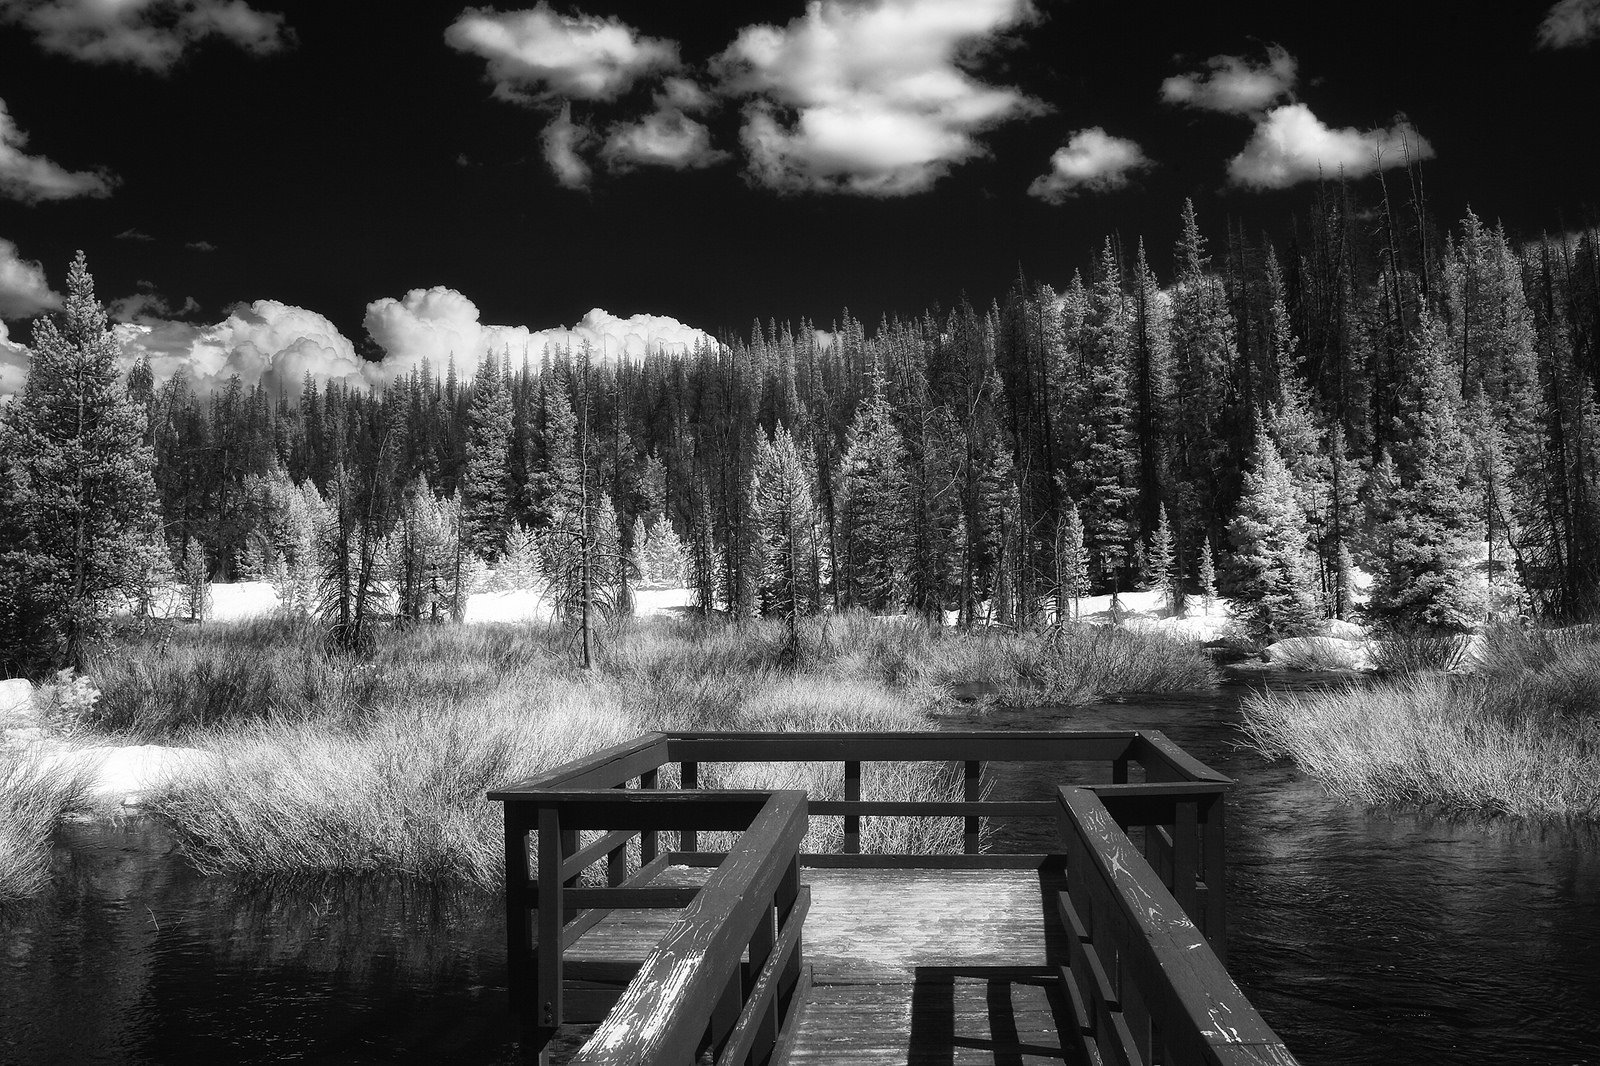
Infrared photography, or IR photography, shows us a different world. Green grass and trees become white. Water and the sky become deep blue. Scenes are saturated with crisp contrast.
Infrared photography is a unique genre that produces images quite unlike typical photographs—it's also affordable to get started with and a fun way for even seasoned photographers to experiment with something new.
Infrared Photography Gear
Infrared cameras and converted IR cameras
If you already have a camera, infrared photography is as affordable as a $10 to $75 IR filter. Photographers dedicated to the genre sometimes pick up a camera with an infrared sensor, like the Fujifilm X-T1 IR.
Outside of the X-T1 IR, obtaining an infrared camera is usually a matter of sending a regular camera into a company for conversion. However, a converted IR camera is certainly a commitment in the long run when it comes to your photography gear so make sure to think the decision through. If you really only want to experiment, look around IR filters and IR lenses.

Infrared filters: The top 3 recommendations
Getting an IR filter is obviously more affordable and allows you to still use your camera for photographing the visible light spectrum—so what's the downside? Infrared filters block out all visible light and only let infrared light in. That means shots with an infrared filter will require longer exposure times—you'll need to use long exposure techniques including the use of a tripod.
Since the filter is so dark, in most instances, you'll need to set your focus without it, then screw the filter in with the focus locked.

A dedicated IR camera offers more flexibility without that dark filter, including the possibility of photographing moving subjects—but for experimenting, an inexpensive filter often does the trick.
Let’s see three IR filters we would recommend.
3 infrared filters to try
Here are three infrared filters to choose from if you would like to start experimenting with infrared photography.
1. Hoya 72mm RM-72 Infrared Filter
- Blocks Visible Light Up To 720nm
- Compatible with Most Digital Cameras
- Can Be Used with Infrared-Type Film
- Optical Glass and Aluminum Filter Ring
2. B + W 77mm Infrared Filter 093
- Effect Corresponds to Wratten 87C Filter
- ~88% of IR 900nm or Above Can Pass
- Blocks Near-IR, Visible, and UV Light
- ~20-40x Filter Factor, ~4.3-5.3 Stop
- Schott Glass Construction
- Non-Coated
- 77mm Front Filter Threads
- F-Pro Brass Filter Ring
3. Singh-Ray 77mm Thin I-Ray 830 Infrared Filter
- 90% of IR 750nm or Above Can Pass
- Blocks Near-IR, Visible, and UV Light
- 4000x Filter Factor, 12 Stops
- Optical Glass Construction
- Thin, Aluminum Alloy Filter Ring
- 77mm Front Filter Threads
Infrared lenses
So what lens should you outfit with an IR filter? Inexpensive lenses like kit lenses actually often perform better with IR photography—they're less prone to hot spots and flares. If you're trying to decide what size filter to buy, outfitting a kit lens or inexpensive wide angle is often the best bet.
Shooting Infrared Photography
Taking an IR photo doesn't differ too much from taking a normal photograph—at least in terms of concepts like composition and exposure. With an IR filter, you'll need to use long exposure techniques because of how dark the filter is (including a tripod), but the shutter speed, ISO, and aperture can balance out just like with a normal image.
Different cameras and filters also handle IR differently—some will need to use exposure compensation more than others. One filter may need a bit more exposure compensation adjustment than one from another brand, and the same goes for converted IR cameras.
Do some experimenting when you first get your IR gear to see how the camera's metering mode performs in IR. The importance of knowing your gear and how well it performs still applies to IR photography.

One technique that's very helpful for IR photography is to set the custom white balance by photographing a gray card with that IR filter on. White balance changes can be made later with a RAW photo, but they're a bit tougher to “eyeball” with an IR photo, so using a custom white balance can save you a headache later.
As you shoot, consider how infrared light is different.
Remember, green turns tan or white and the sky becomes a much deeper blue.
Just like learning how to see scenes in black and white is essential to black and white photography, practice to learn how the camera sees infrared light so you can begin to spot scenes that would work well in IR.

Because of the longer shutter speeds and the unique way blues and greens convert, landscapes are a popular option with IR. But, IR is a fun way to experiment with photography—trying out different subjects can be one more variation. IR turns skin tone milky smooth and can also see through sunglasses. Since IR photos eliminate haze, IR is a good tool for architectural photography as well.

Since you are photographing a light spectrum that you can't see, check the LCD (Liquid Crystal Display) often. Normally, checking the LCD often is a sure sign of an amateur, but you can't see the many issues that can pop up since you don't see in infrared. Light flares are common issues that are tough to anticipate, but easy to fix by adjusting your angle to the sun.
Editing IR Photos

Editing is where infrared tends to get really tricky. Like shooting with the visible light spectrum, shooting RAW will give you the most flexibility. An IR photo straight from the camera actually looks pink, or tan if you set the custom white balance. but there are many potential ways to edit — leave the foliage tan or pure white, or even convert to black and white.
Nonetheless, starting with a mostly pink/tan image and getting something with blue skies and white foliage is a bit beyond the usual editing process, so here are a few of the most common techniques for editing IR photos.
Editing IR photos: In Camera RAW or Lightroom
Whether you prefer to use Camera RAW or Lightroom, there are a number of edits you can do before you get to the ones that create that characteristic infrared look. If you didn't set the custom white balance, spend some time with the white balance slider — use the eyedropper tool to help pinpoint where that custom white balance would have been. Straight from the camera, your IR photo probably doesn't have as much of that big contrast as you'd imagined, so use the black and contrast sliders to help get closer to that vision.
Don't worry if the colors aren't that typical deep blue sky and white grass yet—that's done through channel mixing.
Editing IR photos: Photoshop Channel Mixing

Channel mixing is the Photoshop process that gets you a colored photo when the shot straight from the camera actually looks largely like varying shades of tan. In Photoshop, go to Image > Adjustments > Channel Mixer.
Then to get that characteristic IR look, “swap” the colors: Select the blue channel in the drop-down box, then set the red to 100% and all other values to zero. Repeat the same step for the red channel in the drop-down box, but leaving the blue at 100 percent. In the green channel, set the blue to 100 as well.
Channel swapping is how that tan photo becomes a color, high contrast image, but there's nothing wrong with getting a bit creative with your swaps either and experimenting with different color values with each channel.
Editing IR photos: Curves and Toning
IR photography is one instance where the “auto tone” feature tends to work really well — so try it on your IR shot. You can also enhance the contrast quite a bit using the levels adjustments. In particular, pay attention to the levels in the red and blue channels—red will bring out the foliage and blue the sky.
Editing IR photos: Hue And Saturation

IR photos are all about unexpected colors in unusual places. Before you finalize an image, play around with a hue/saturation adjustment layer. If you want the foliage in the image to appear white instead of an off-white, you'll select those hues and turn the saturation down.
Select the red channel from the drop-down box, then use the eyedropper tool to select all the tan shades that you'd like to adjust. Once selected, simply desaturate with the saturation slider.
That's one method for achieving unusual color, but experimenting is part of the beauty of IR, so don't feel like you have to stick to a certain formula.
Editing IR photos: Black and White

The contrast in an IR photo can make for some interesting black and white images. Essentially, adjusting an IR image to black and white will leave you with the opposite of a typical black and white landscape: light trees and a dark sky. Try a black and white adjustment layer as the last step, using sliders to customize how the colors convert.
Even if your end goal was always black and white, using the channel swap method first will help create more contrast in the shot.
Infrared photography is a much less common medium and offers a wide range of possibilities for creating unexpected images. With unusual colors and minimal gear required, IR photography is a fun technique to experiment with. IR photos offer a ghost-like or even dreamy feel—so grab an IR filter and challenge yourself to shoot scenes that you could've only imagined without your camera.
In the meantime, don't forget to protect all your images from theft. Monitor your work with Pixsy. It's free to create an account!
Post by Hillary K. Grigonis, a Michigan-based lifestyle photographer. When she’s not taking pictures, she’s writing (about taking pictures).


